


So here’s a cheeky one for ya ;)
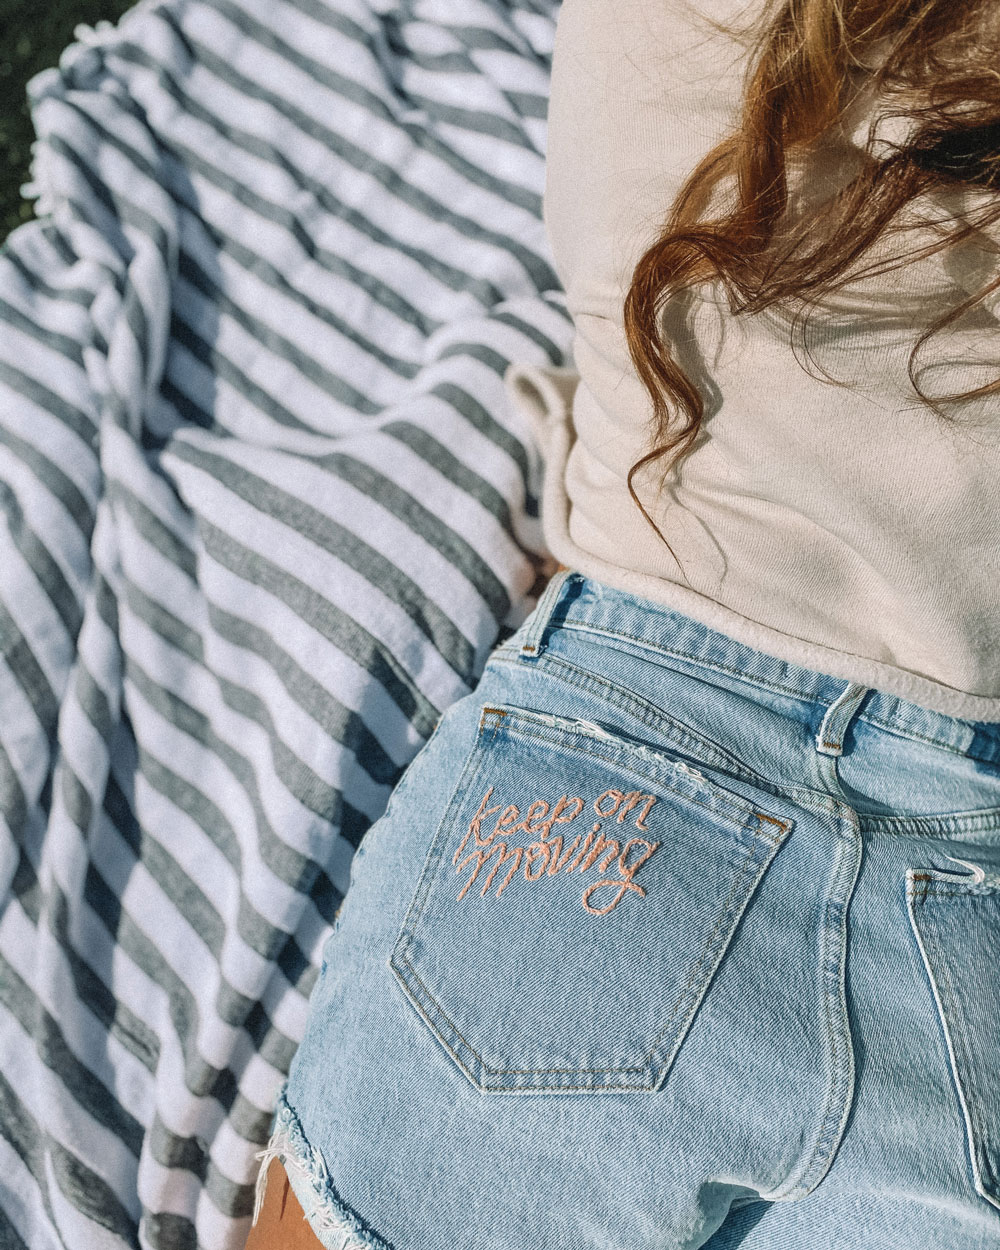
I embroidered “keep on moving” onto the back pocket of a pair of shorts. Why that phrase you ask? Well, to me, it means 2 things:
1. It’s a phrase that has been reoccurring in my head a lot lately. Through this pandemic…keep on moving. Through furlough, through anxiety, through the storm of life that just doesn’t seem to want to clear up sometimes…keep on moving. Keep on putting one foot in front of the other.
The second thing: The world has come a long way with respect for women. We should be able to wear the clothes we want to wear without fear from anyone. Meaning, “she asked for it because her shorts were too short” No. I, along with way too many women, have been cat called, shouted at, hooted and whistled at in public. Keep on moving bro. You can walk around with your shirt off in public and no one bats an eye, but god-forbid its 90 degrees out and I want to wear short shorts and a tank top without disrespectful actions from you? I should feel confident to do so. Thats all :)
Time for the tutorial:
Supplies You'll Need for this Project
• Shorts
• Scissors
• Thread color of your choice
• Needle
• Printer/Paper
• "Keep it moving" lettering (download here)
• Sulky Paper Solvy Water Soluble Fabric Stabilizer

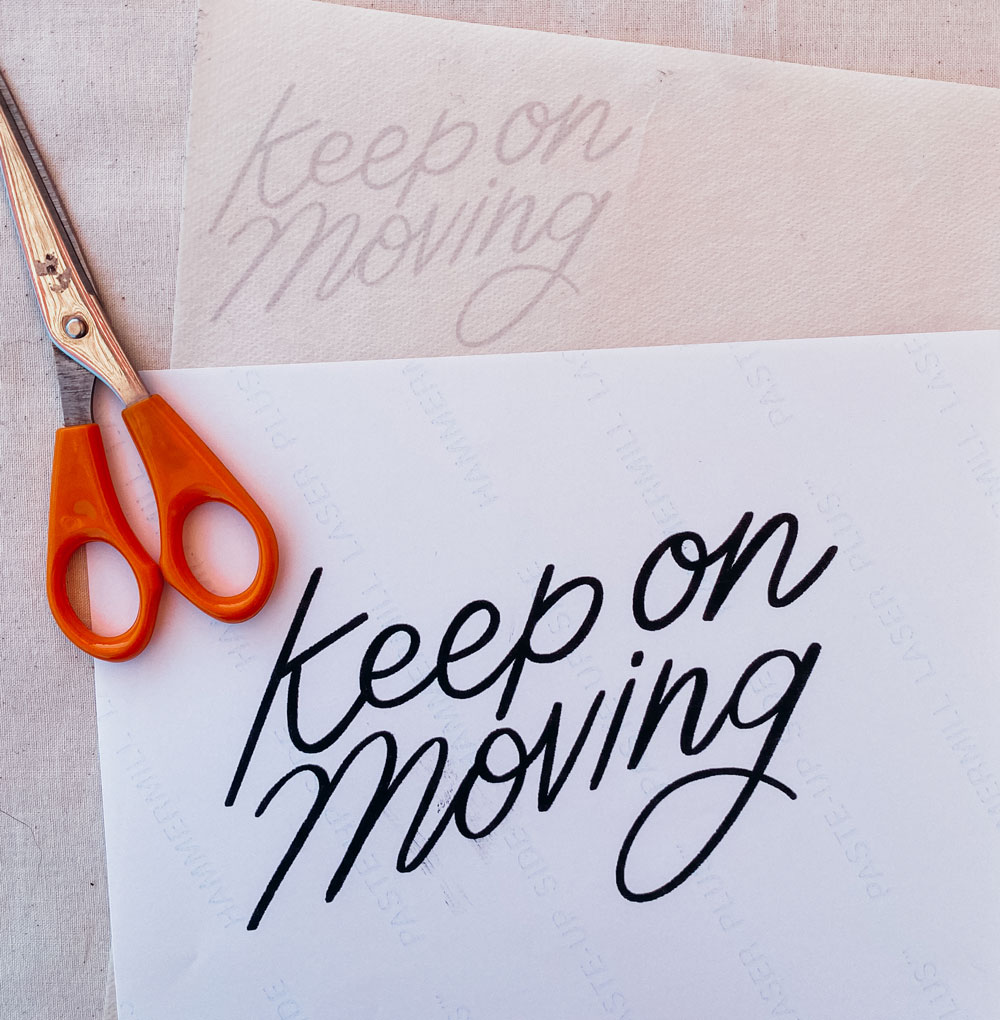
First you are going to want to download the lettering file. Then load the fabric paper into your printer according to the instructions (it's easy, fabric part down). And then print it. You can size it however you need to by adjusting the percentage of the page size. (if you don't have photoshop).

Then simply figure out where you want to place your lettering, peel off the sticky back, and place onto fabric. Smooth it out as best as possible.

Once your lettering is on, thread your needle, (double knot the end). The lettering file is fairly faint because the darker ink color would bleed onto the fabric once soaked in water (stay tuned).

I am going to show you how to create a stitch that is usually used for lettering (its called a stem stitch). First you will want to start by going in through the back of the fabric like pictured above. Pull needle and thread all the way through.

Then place your needle along the line of the letter, sew down and pull through completely (pictured above).

Then you will want to come through the back once again, into the center of the stitch you just created and pull completely through (pictured above).
Here's a video if thats easier for you to follow:

You will continue that stitch all the way through the lettering. This particular stitch makes it easy to go around the curves of the lettering to get that perfect trace.

Once you are done stitching your lettering, you will want to completely saturate the whole piece in water to dissolve the fabric stabilizer. It actually dissolves rather quickly, you might need to rub off the parts closest to the stitching while its in the water.

Let your shorts dry and then ta da!! Rock those babies this summer! I have like 10 sheets of fabric paper left....what should I make next??


Much Love,
A

